

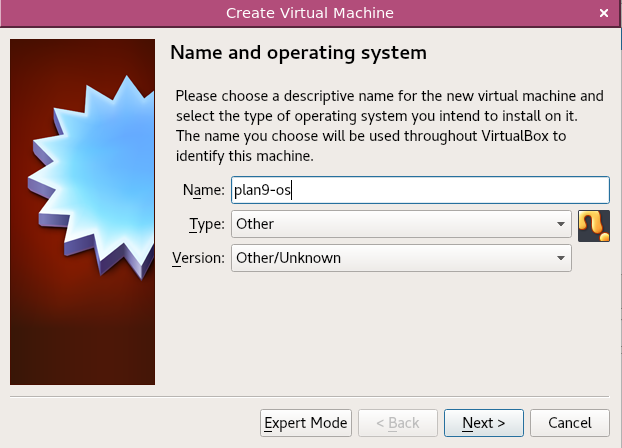
Creating a VM in VirtualBox to run the Plan 9 operating system is pretty straightforward.
Create a new virtual machine of type "Other" and version "Other/Unknown", then click "Next".
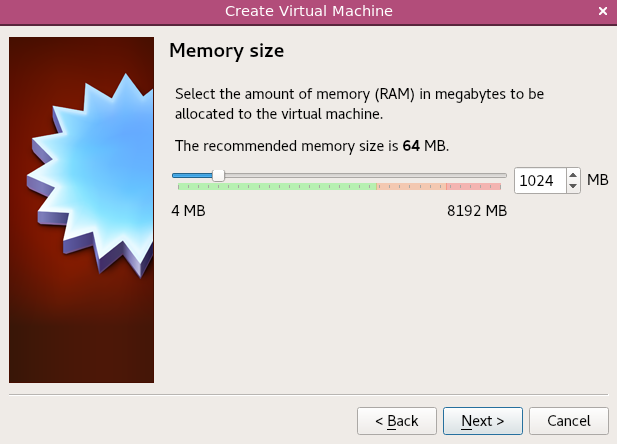
Select a memory size of your choice. This could be in a range from 32 MB to what your host is able to serve. In our example we select 1 GB of RAM.
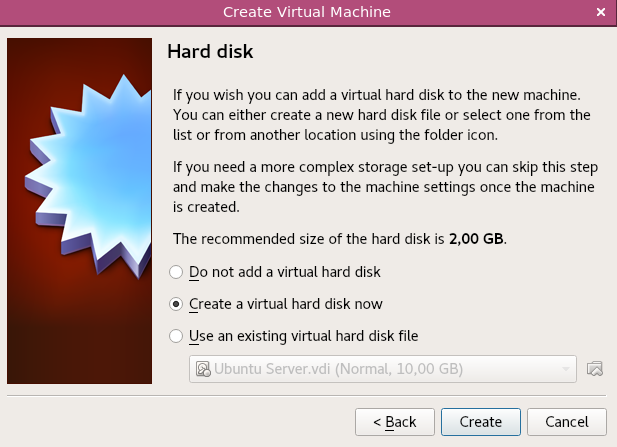
Create a hard disk ...
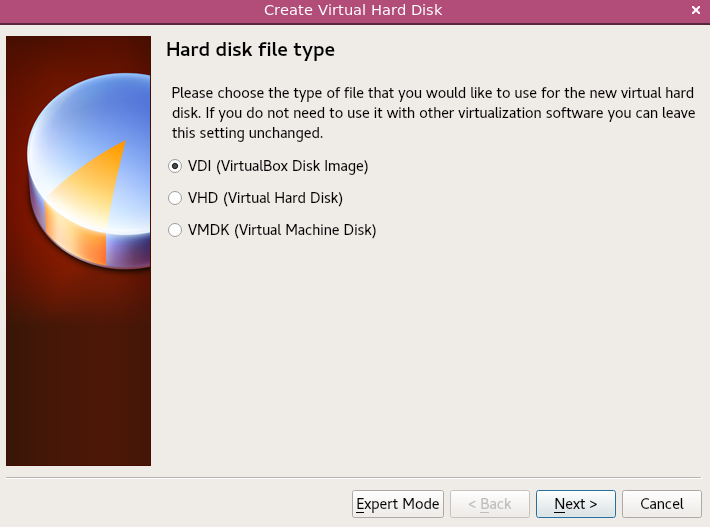
Select image file type for hard disk ...
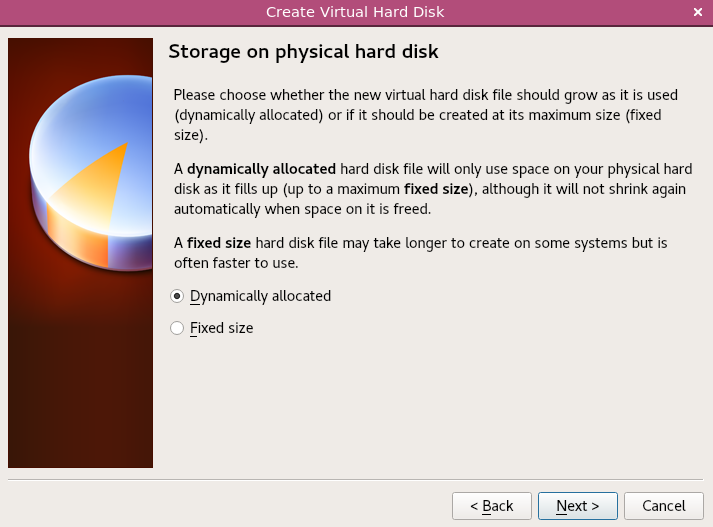
Select allocation type for the hard disk ...
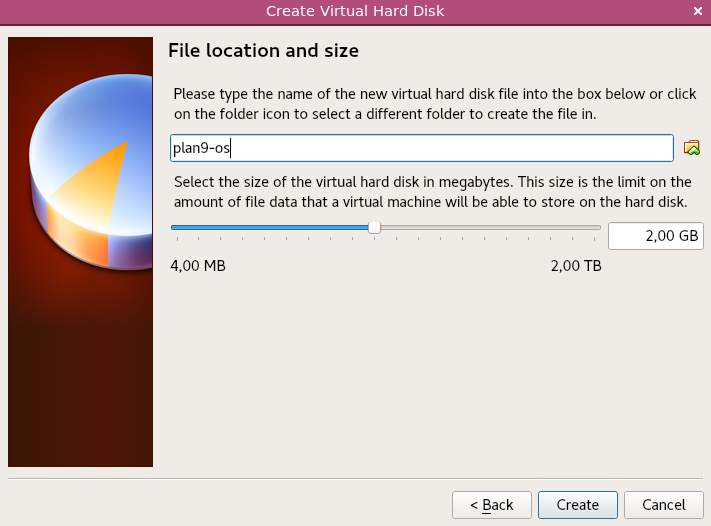
An select the size of the hard disk. Select something between 250MB and some several GB. In our example we chose 2 GB.
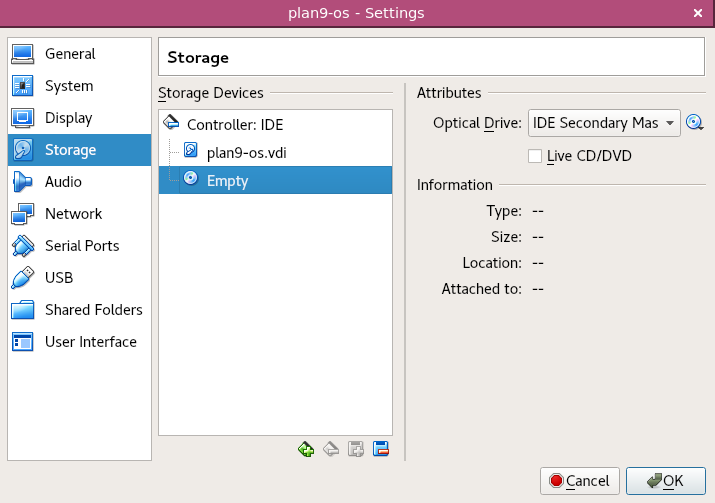
After the virtual machine is created go to the settings of the virtual machine and select the Plan 9 CD image, which you can download here.
That's it. Now you are ready to run the Plan 9 installer in VirtualBox.